How to Clean a Kitchen Floor?
Keeping a kitchen floor clean is about more than just aesthetics; it is a critical component of home hygiene and floor preservation. In American households, the kitchen is often the most used room, subjecting the floor to everything from heavy foot traffic and pet dander to acidic food spills and sticky cooking grease. To maintain that “new floor” look, you must follow a process that removes debris before it can cause permanent damage.
Quick Answer: Sweep First, Mop Second, and Match the Cleaner to the Floor
The secret to a professional-grade clean is a three-stage approach: mechanical removal of grit, chemical breakdown of residues, and mechanical drying. Most importantly, you must select a cleaning agent that matches your floor’s pH requirements—alkaline for grease on tile, but strictly pH-neutral for sensitive materials like hardwood or stone.
Why grit causes scratches and haze
In the US, most hard flooring surfaces—whether polyurethane-coated oak or luxury vinyl plank—rely on a “wear layer” for protection. Grit, sand, and tiny crumbs act like sandpaper under the weight of footsteps. If you mop without sweeping first, you aren’t cleaning; you are dragging abrasive particles across the surface, creating microscopic scratches. Over time, these scratches accumulate, causing the floor to lose its luster and develop a “cloudy” or “hazy” appearance that no amount of mopping can fix.
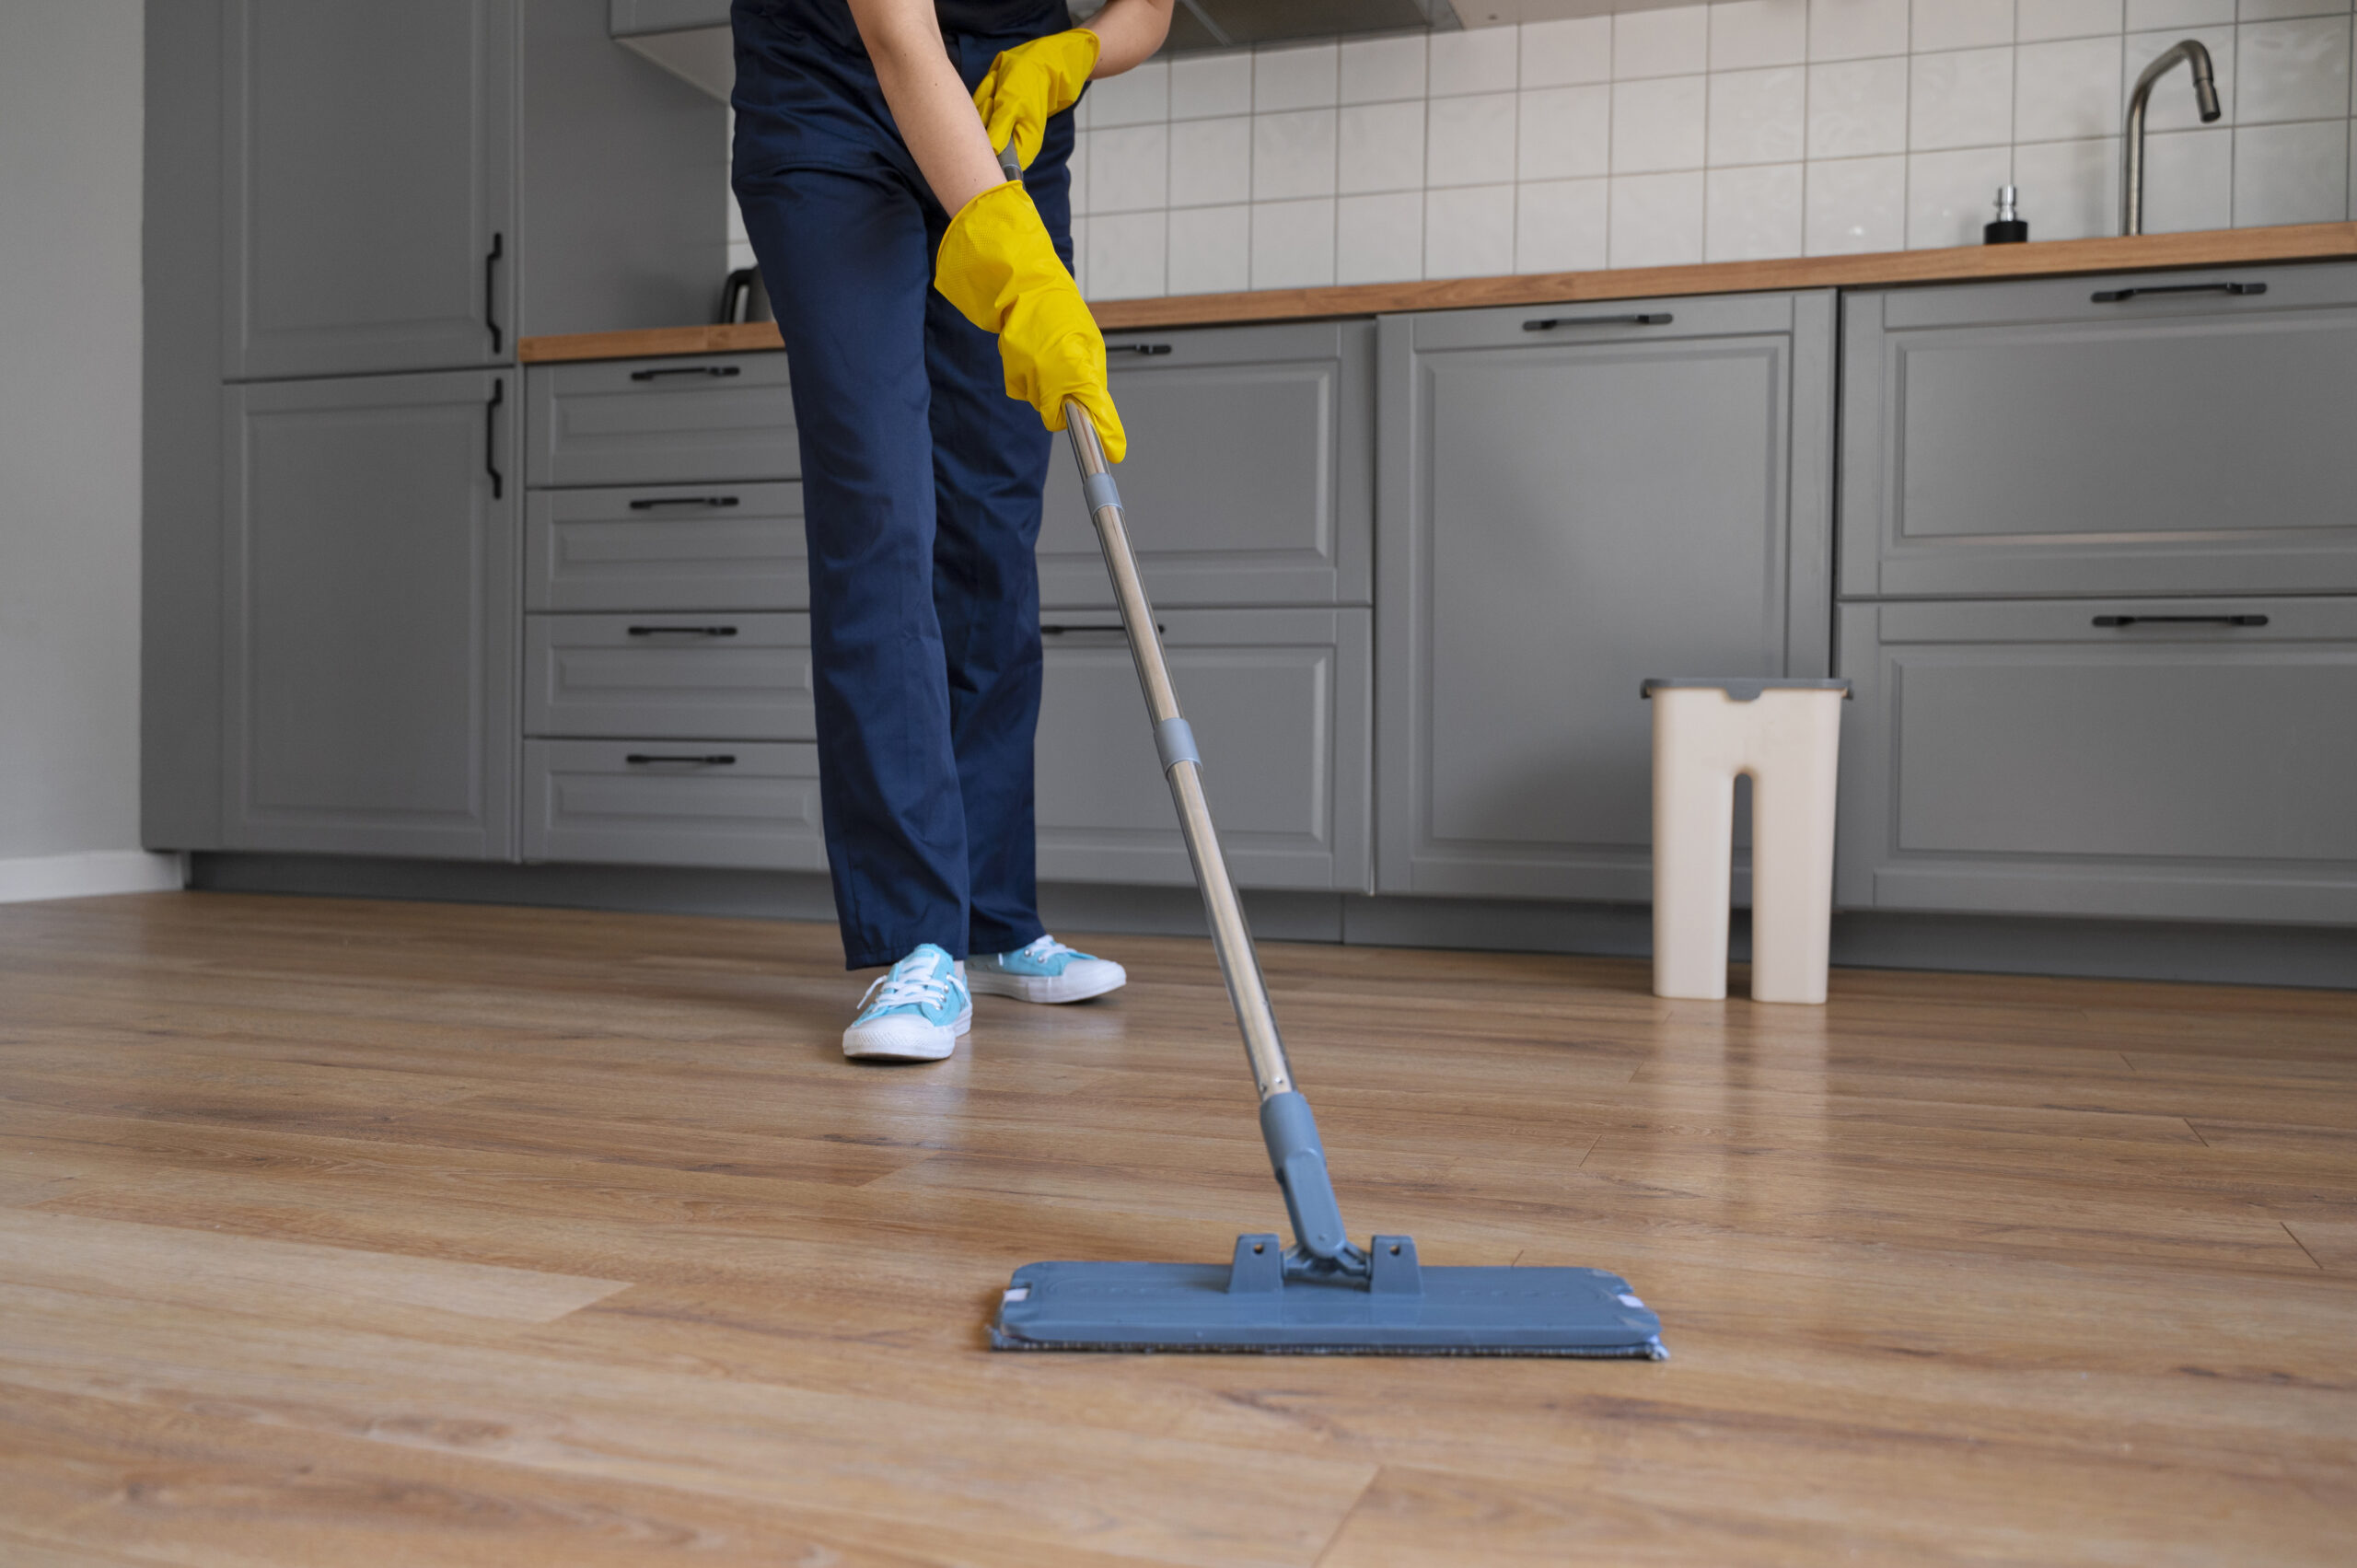
Step-by-Step Kitchen Floor Cleaning
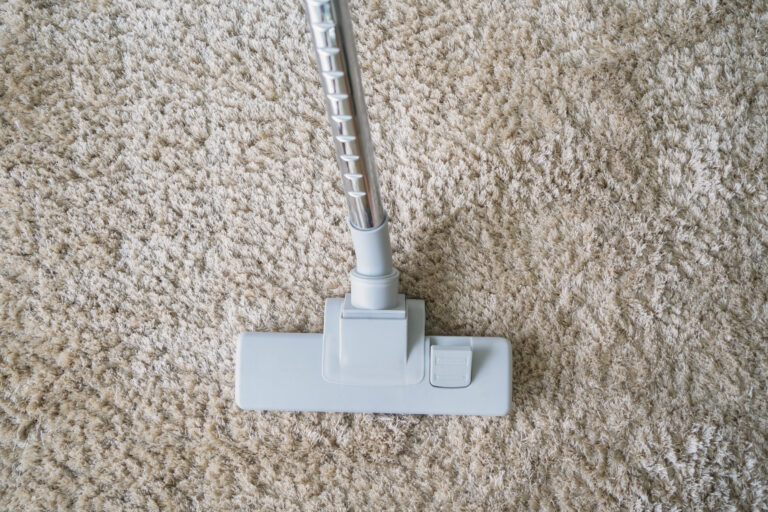
Pre-clean: sweep/vacuum edges and corners
Begin by removing all loose debris. Pay special attention to the “kick plates” (the recessed area under your kitchen cabinets) and corners where dust bunnies and food particles congregate.
- Tool Tip: Use a vacuum with a “hard floor” setting to ensure the beater bar (the rotating brush) is turned off, as these brushes can scratch wood and laminate. Alternatively, a high-quality microfiber dust mop is excellent for trapping fine dust that traditional brooms often leave behind.
Mop: correct dilution + two-bucket method
The “Two-Bucket Method” is the gold standard for preventing cross-contamination.
- Bucket One: Fill with warm water and the recommended amount of floor-specific cleaner. Always measure the cleaner. Using too much creates a sticky film.
- Bucket Two: Fill with plain, clean rinse water.
- The Process: Dip your mop in the soapy water, mop a small section, then rinse the dirty mop in the plain water bucket before going back into the soapy water. This ensures you are always applying clean solution to the floor rather than spreading dirty water around.
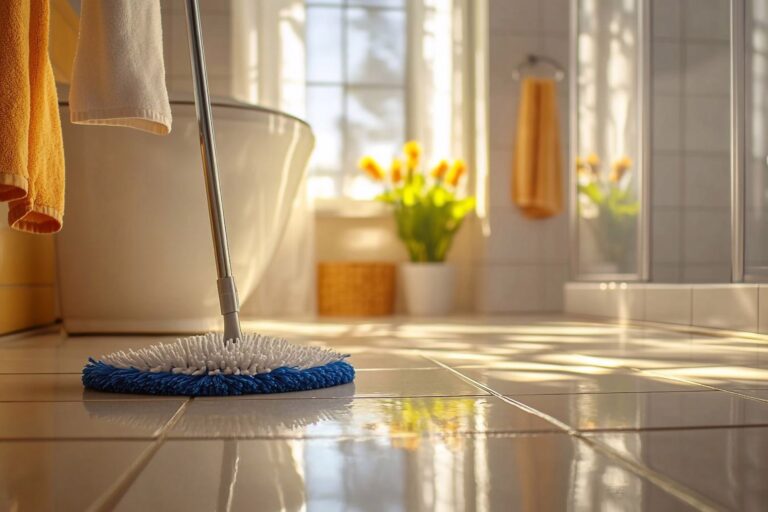
Dry: airflow + spot wipe for shine
Never let water sit and “air dry” on its own if you want a streak-free finish. Excess moisture can seep into seams, especially in popular US flooring like laminate or engineered hardwood.
- Method: Use a ceiling fan or open a window to increase airflow. For a high-gloss finish, go over the floor one last time with a clean, dry microfiber cloth or a dry flat mop. This “buffing” step removes any remaining mineral deposits from the water and creates a mirror-like shine.
Common Mistakes That Make Floors Look Worse
Overusing soap
It is a common misconception that “more soap equals more clean.” In reality, excessive detergent leaves behind a surfactant residue. Once the water evaporates, this residue remains as a tacky layer that acts as a magnet for dirt. If your floor feels “grippy” or shows footprints immediately after cleaning, you are likely using too much soap.
Skipping rinse on tile/vinyl
Even when using the correct amount of soap, the suspended dirt stays in the thin film of water left behind. If you don’t perform a final pass with clean water, that dirt dries right back onto the surface. A dedicated rinse cycle is essential for maintaining the clarity of the floor’s finish.
Using too much water on wood/laminate
Standard US construction often utilizes subfloors made of plywood or OSB. If you “flood” a wood or laminate floor, water migrates through the seams and is absorbed by the wood fibers or the subfloor. This leads to “crowning” (the center of the plank rising) or “buckling.” Your mop should be damp—not dripping—at all times.
FAQs
How often should I mop the kitchen floor?
For a typical American household, you should sweep or vacuum daily to manage grit. A full mop should occur once a week. However, “hot spots” like the area in front of the sink or the stove should be spot-cleaned daily to prevent grease buildup.
What removes cloudy film?
If your floor has developed a hazy film from years of over-soaping, a one-time rinse with a mixture of one cup of white distilled vinegar to one gallon of water can help strip the residue. Caution: Only do this on tile or vinyl; do not use vinegar regularly on hardwood or stone, as the acidity can damage the sealants over time.
Can I use steam on kitchen floors?
Steam mops are popular but should be used with extreme caution. While they are generally safe for ceramic and porcelain tile, the high-pressure heat can force moisture deep into the joints of laminate, vinyl plank (LVP), and hardwood, often voiding the manufacturer’s warranty. Always check your flooring’s specific warranty before using steam.
Are your kitchen floors losing their luster despite your best efforts? Let the professionals handle the deep cleaning. Our expert team uses industrial-grade equipment and specialized, eco-friendly solutions to safely remove deep-seated grease and grime, restoring your floors to their original beauty. Contact us today for a free quote and experience the difference a professional clean can make for your home!